What to Know When Installing a New Brick or Stone Walkway
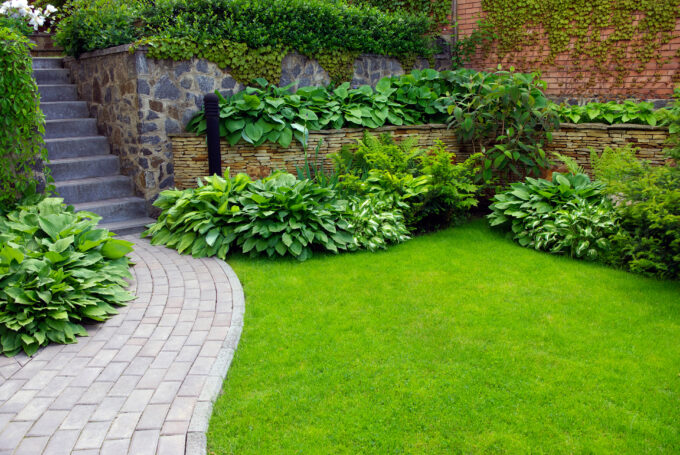
Installing a new walkway can dramatically enhance any property’s aesthetic appeal and functionality. However, it can be a challenging project to take on, especially if you have no prior experience in brick or stone installations.
In this guide, we’ll give you expert tips and advice on the primary aspects you need to consider when planning and executing your walkway project.
Materials
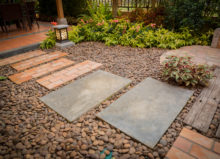
Selecting the right material is the cornerstone of your walkway installation project. Both brick and stone are popular choices, prized for their durability and timeless aesthetics. Brick offers a versatile, classic look, while stone provides a more natural, rustic appearance.
Each material comes with its considerations. Climate, maintenance, and budget should influence your choice. Typically, brick is seen as more cost-effective due to its uniform size, facilitating easier installation. However, the unique charm of stone might outweigh cost concerns for some homeowners.
Accurately estimating the quantity of material needed is also crucial to avoid project delays and unnecessary costs. The size, shape, and pattern of your walkway, as well as the type and size of your chosen material, will all factor into this calculation.
Remember, a professional walkway contractor can assist with these calculations and decisions, ensuring your project runs smoothly.
Design & Layout
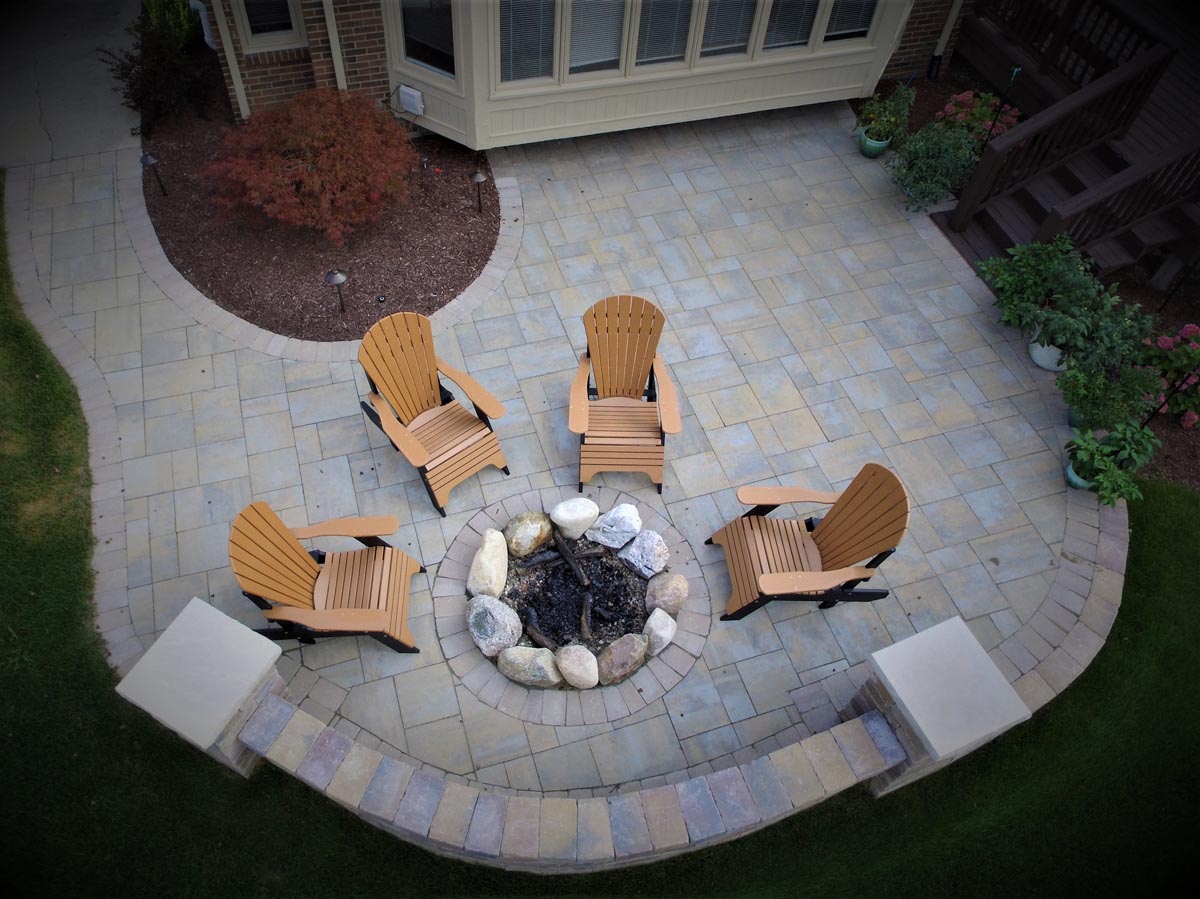
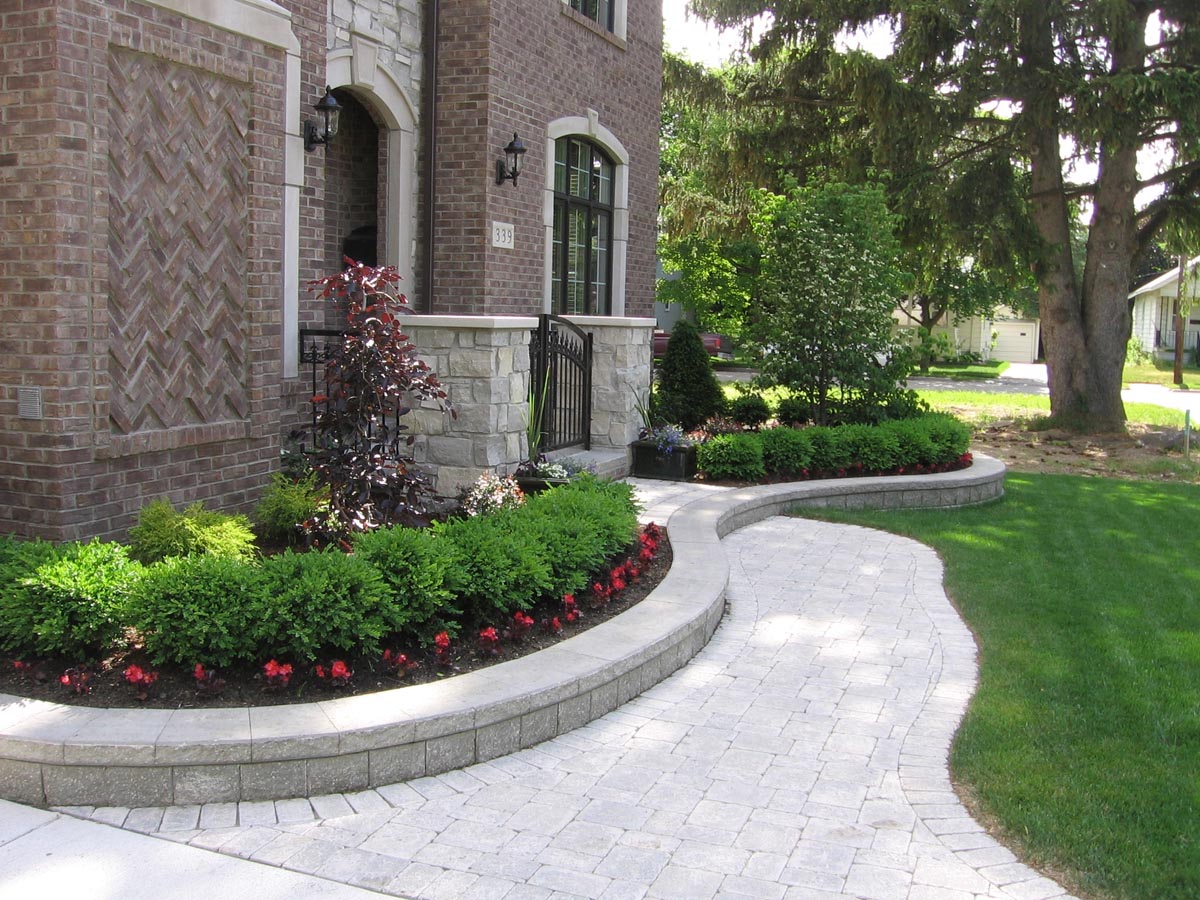
Designing your walkway requires careful consideration of its primary purpose: foot traffic, aesthetics, or both. This will influence key design aspects such as width, curvature, and material choice.
For walkways intended for foot traffic, prioritize accessibility and safety. This could mean a wider path, fewer sharp turns, and materials with good traction. Conversely, if your focus is aesthetics, there is more flexibility to experiment with different materials, path widths, and meandering routes.
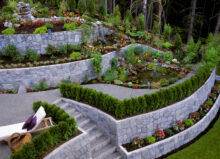
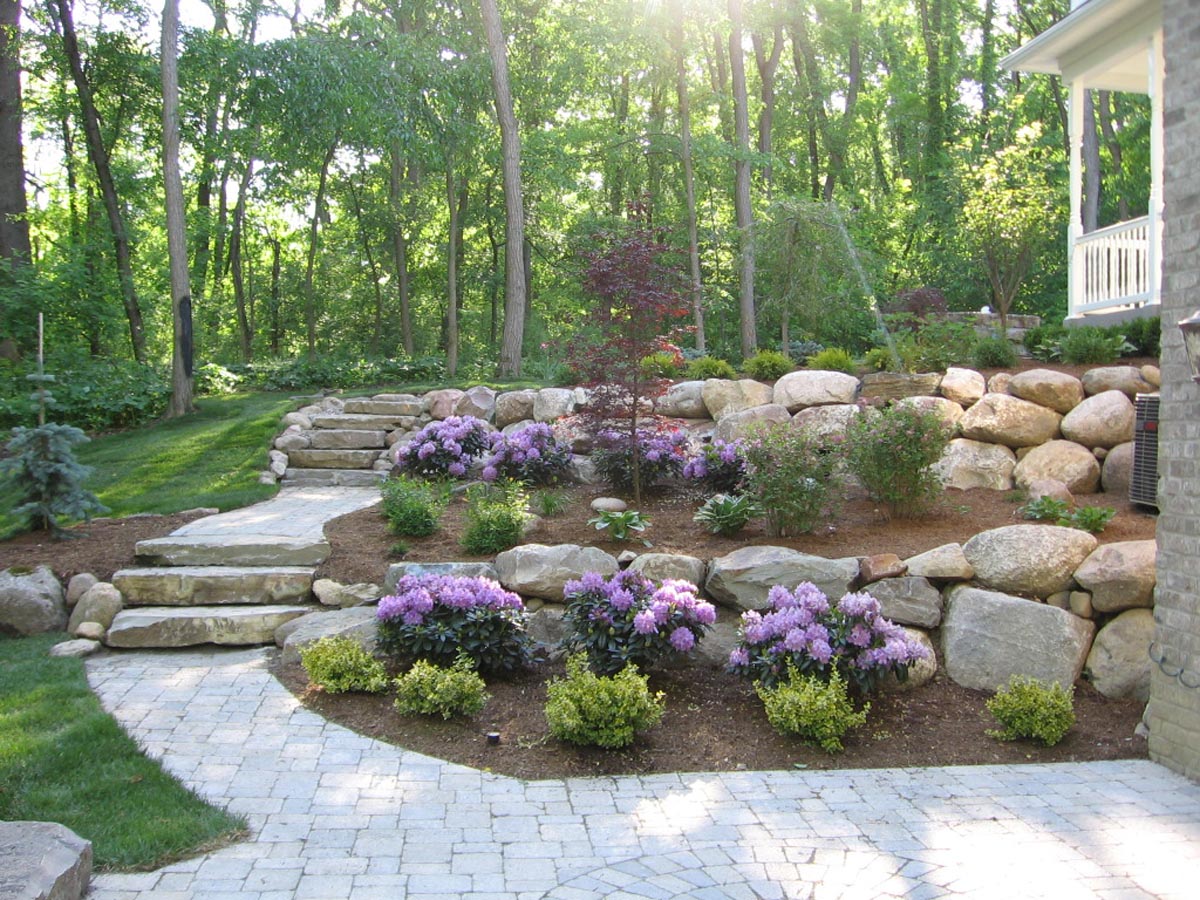
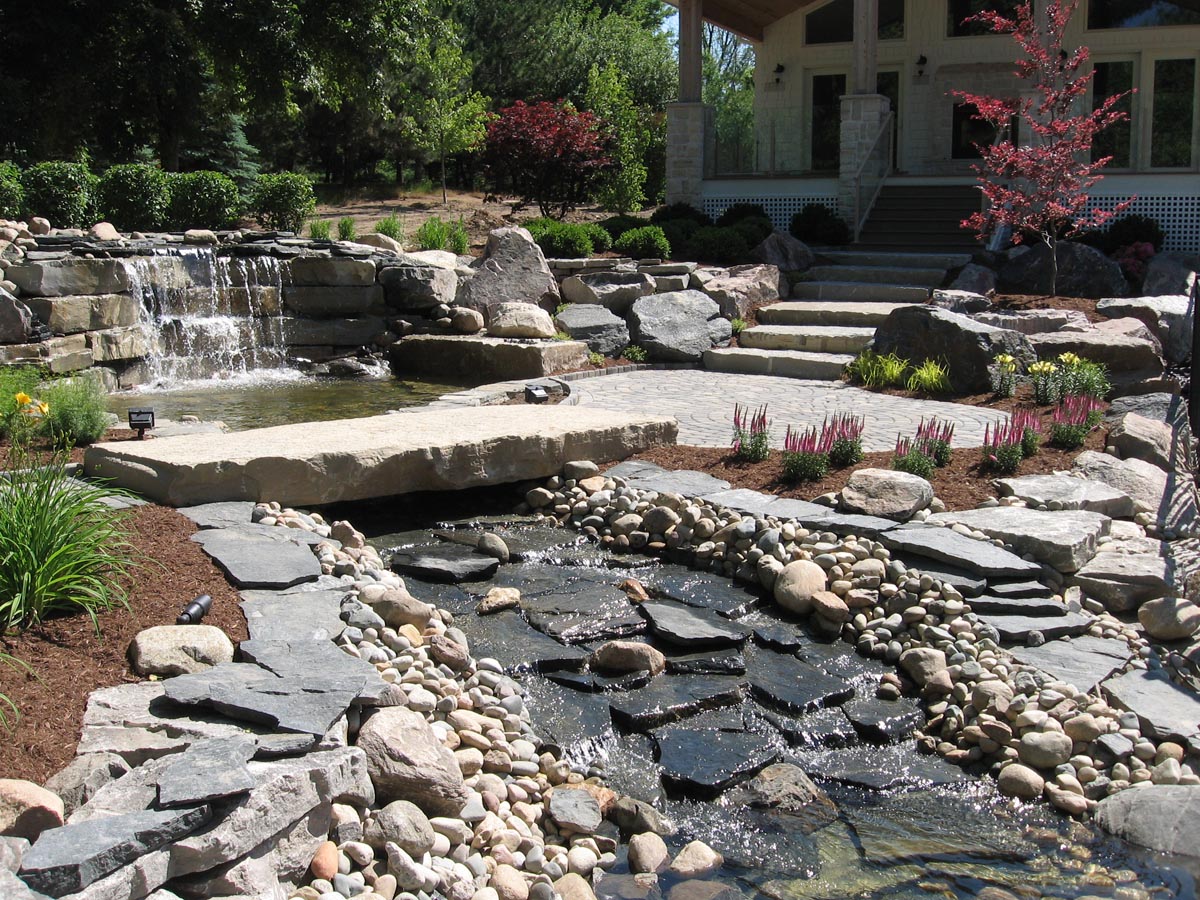
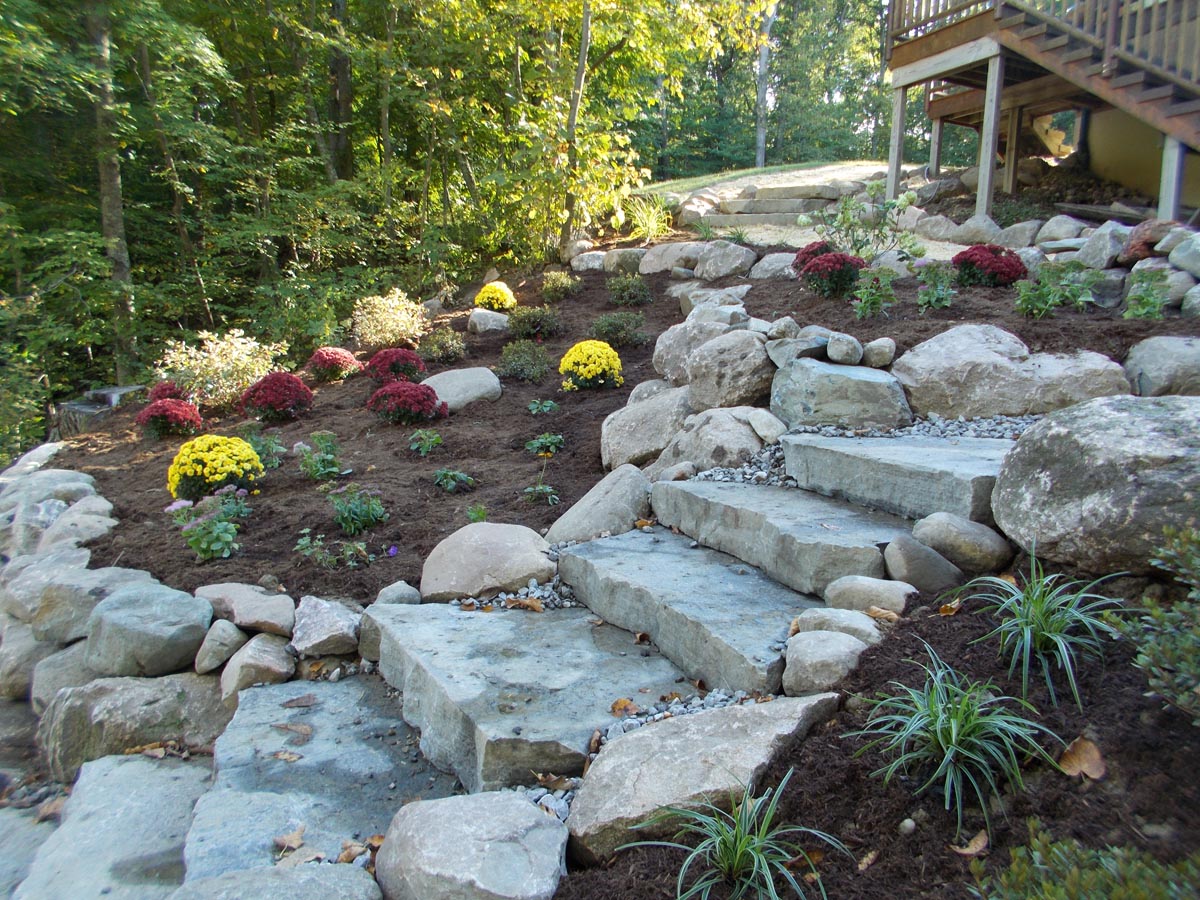
Take into account any obstacles or natural features in the landscape, such as trees, slopes, or existing structures. These can be creatively incorporated into the design to enhance its appeal.
Accurate measurements of the area are essential for a fitting design. Sketch your ideas, focusing on the walkway’s integration with other landscape elements. Consulting a professional walkway contractor can offer valuable insights, ensuring a design that suits your needs and enhances your landscape.
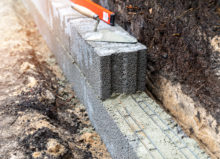
Site Preparation & Excavation
Proper site preparation is paramount for a durable, attractive walkway. Begin by marking your walkway’s boundaries according to your design, ensuring alignment and accurate dimensions.
Excavation follows, involving soil removal to an appropriate depth. This depth depends on your paver thickness, soil type, and climate, but generally, a depth of 7-9 inches is required. This allows for a gravel base, a sand layer, and your paver’s thickness.
Be mindful of elevation and grade changes, which impact stability and drainage. Missteps in this area, common in DIY attempts, can lead to issues like water pooling or an unstable walkway. A professional walkway contractor can prevent such problems by ensuring appropriate grading, drainage, and base compaction, offering peace of mind and long-term savings.
The Installation Process
Before diving into the installation process, you’ll need to prepare the necessary tools and equipment. These typically include:
- Stakes and string: These are used to mark out the boundaries of your walkway.
- A shovel or excavator: This tool will be necessary for the excavation phase.
- A tamper or plate compactor: You’ll need this to compact the base layer and the surface once the pavers are in place.
- A level: This tool will help ensure your walkway has the proper slope for drainage.
- Materials: This includes your chosen pavers (brick or stone), compacted gravel or crushed stone for the base, sand or stone dust for leveling, and additional sand or polymeric sand for filling the gaps.
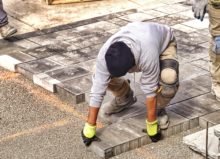
Now, let’s break down the installation process:
- Lay the Base: Begin with a sturdy base composed of compacted gravel or crushed stone to provide stability and support.
- Install Sand or Stone Dust Layer: Next, lay down a layer of sand or stone dust. This creates a smooth, even surface for your pavers.
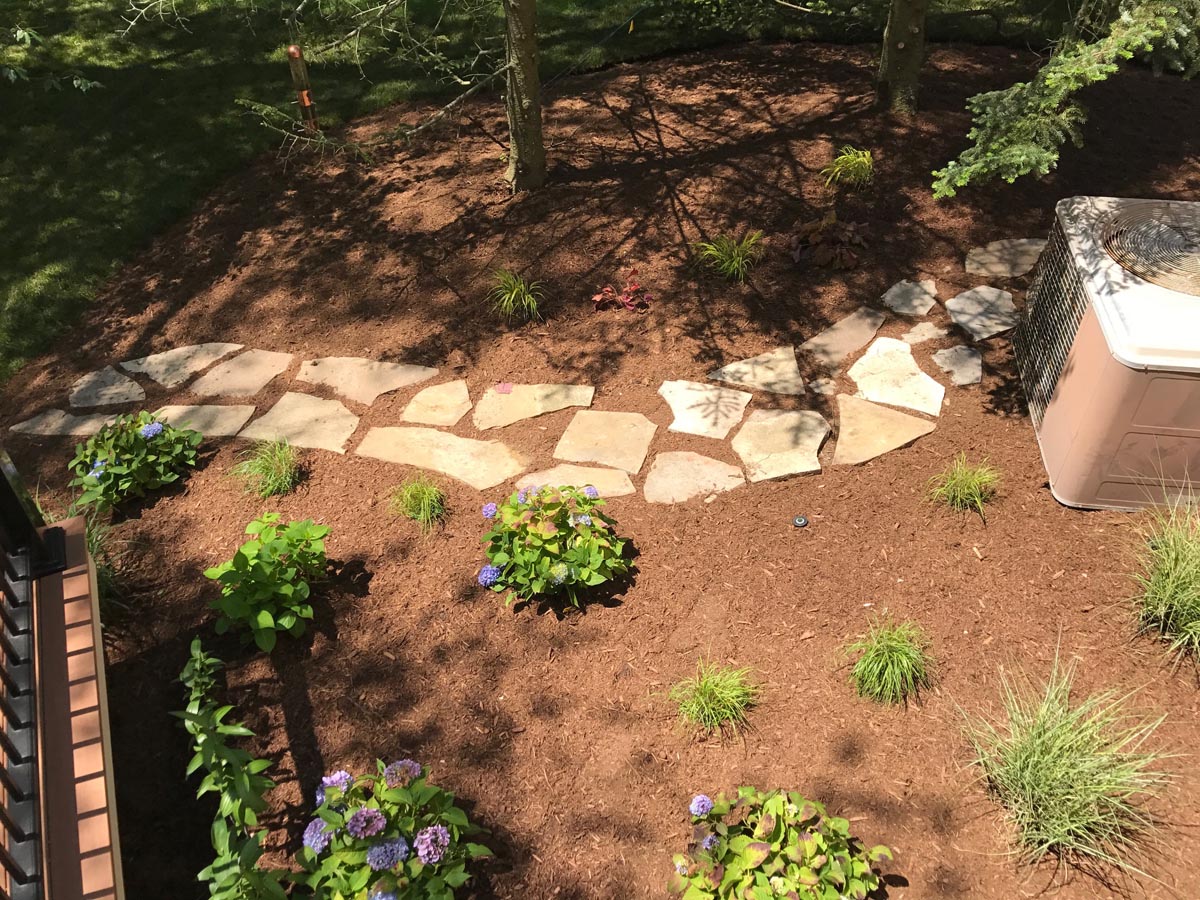
- Arrange the Brick or Stone: Follow your design pattern while placing the pavers, maintaining consistent spacing and alignment.
- Fill the Gaps: Use sand or polymeric sand to fill in the spaces between your pavers.
- Compact the Surface: Finally, go over the entire walkway surface with your tamper or plate compactor to ensure a solid, level walkway.
Hiring a Professional Walkway Contractor
While a DIY approach can be tempting, hiring an experienced walkway contractor can save you time and effort and ensure beautiful, long-lasting results. A skilled contractor will provide expert design advice and ensure that the installation meets industry standards and complies with local regulations.
If you’re looking for an experienced walkway contractor in Michigan, look no further than Design One. We’ve been helping homeowners and businesses install walkways and other hardscaping elements for over 30 years. You can browse some of our past projects here or contact us today to get started with a free consultation.
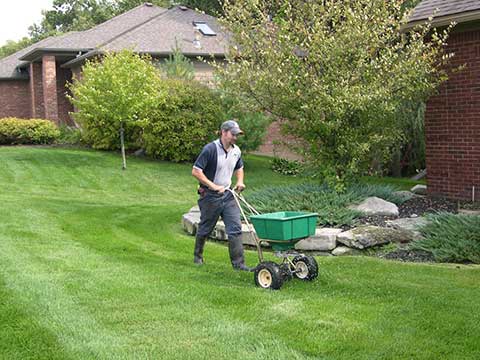
As a residential and commercial landscaping company in Michigan, we’re experienced in both property care and landscaping design. With over 40 years of experience in the industry, Design One is great source of information when it comes to your Michigan lawn care needs! From preliminary design mapping, to irrigation and the types of plants you might want on your priority, we cover it all.