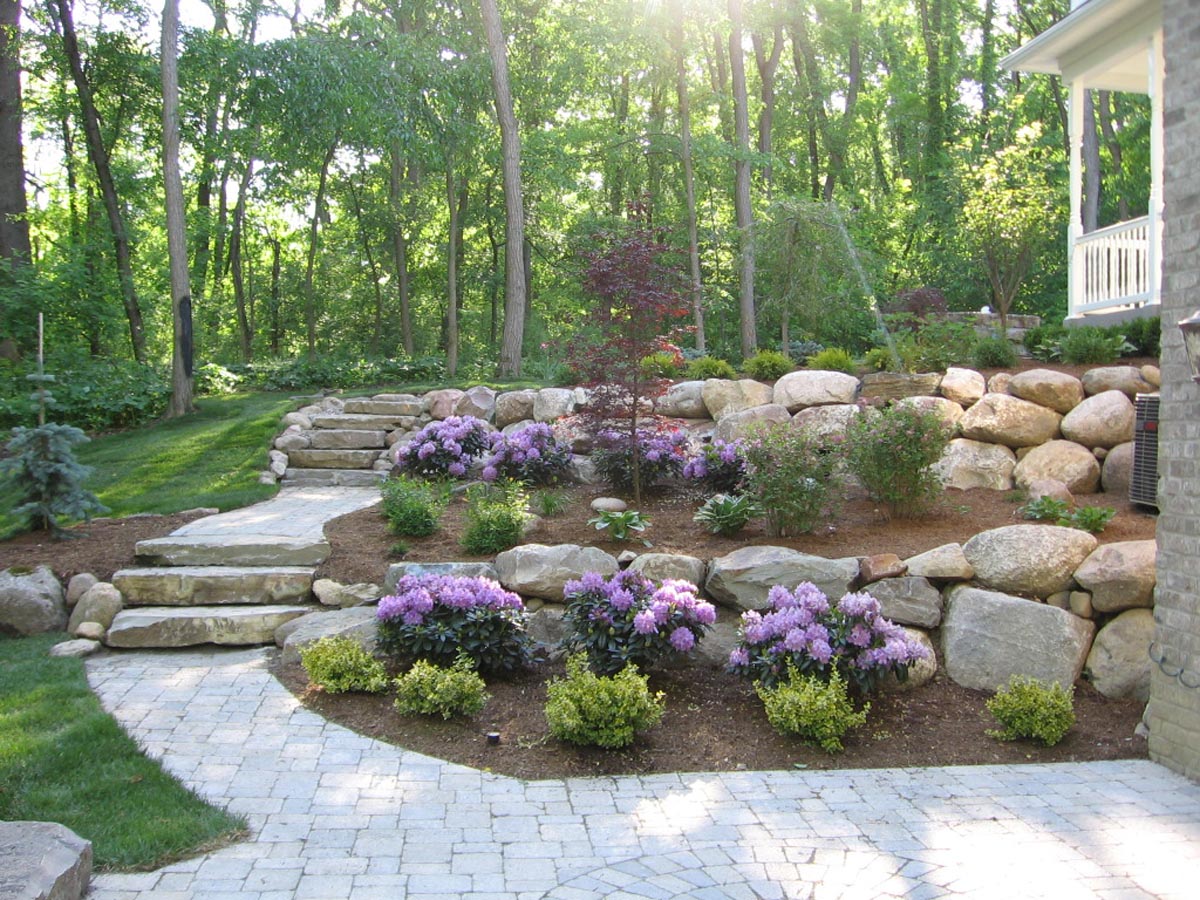
Seasonal Hardscape Maintenance
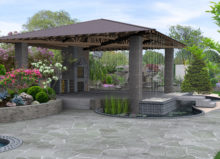
Hardscape elements add plenty of value to your home, so taking care of them is important. Neglected patios, walkways, and other structures will lose some of their aesthetic from moss, mold, and debris buildup, and personal injury risks increase as brick and stone pavers crack and spall.
In this blog post, we’ll highlight essential hardscape maintenance tasks for patios and walkways, retaining walls, and outdoor fire pits, how often to perform these tasks, and when these tasks should be done.
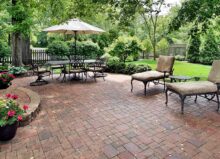
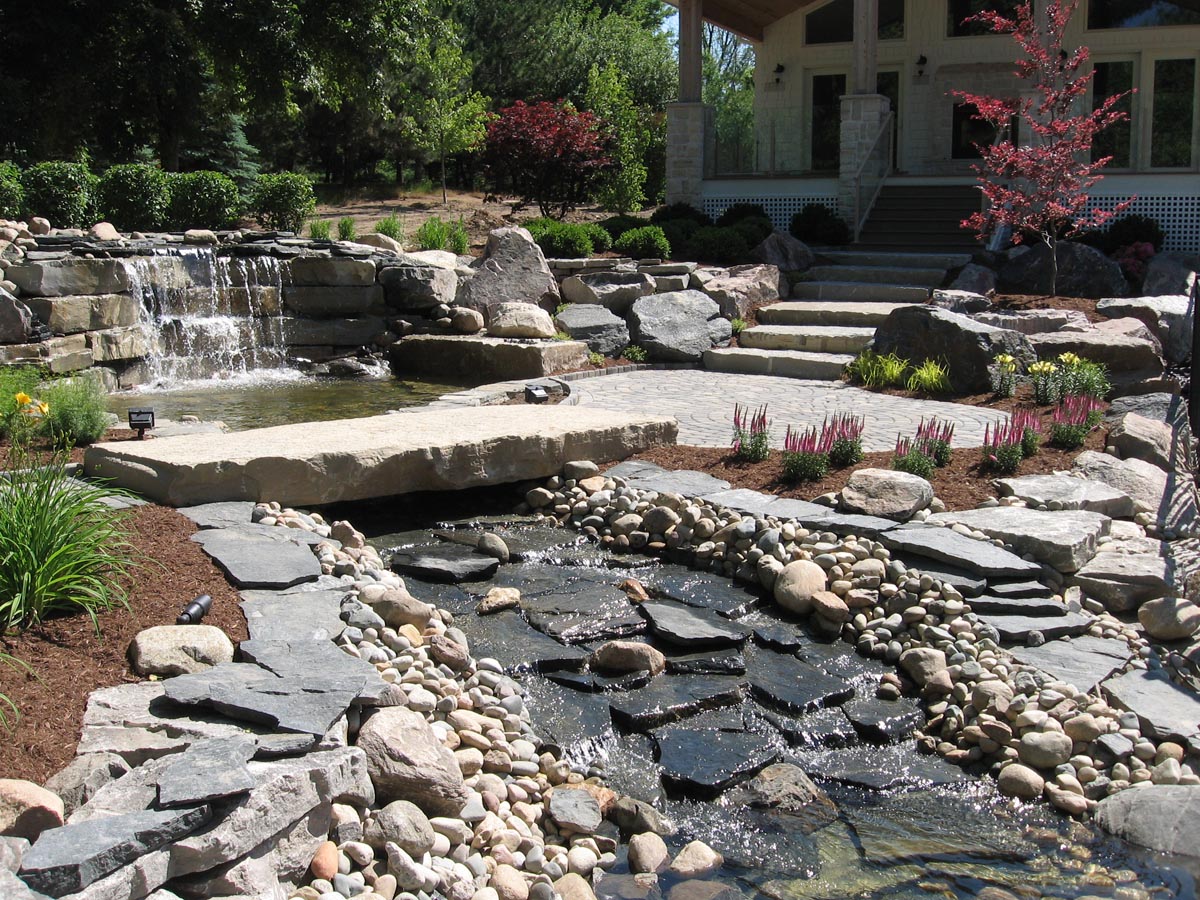
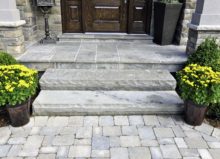
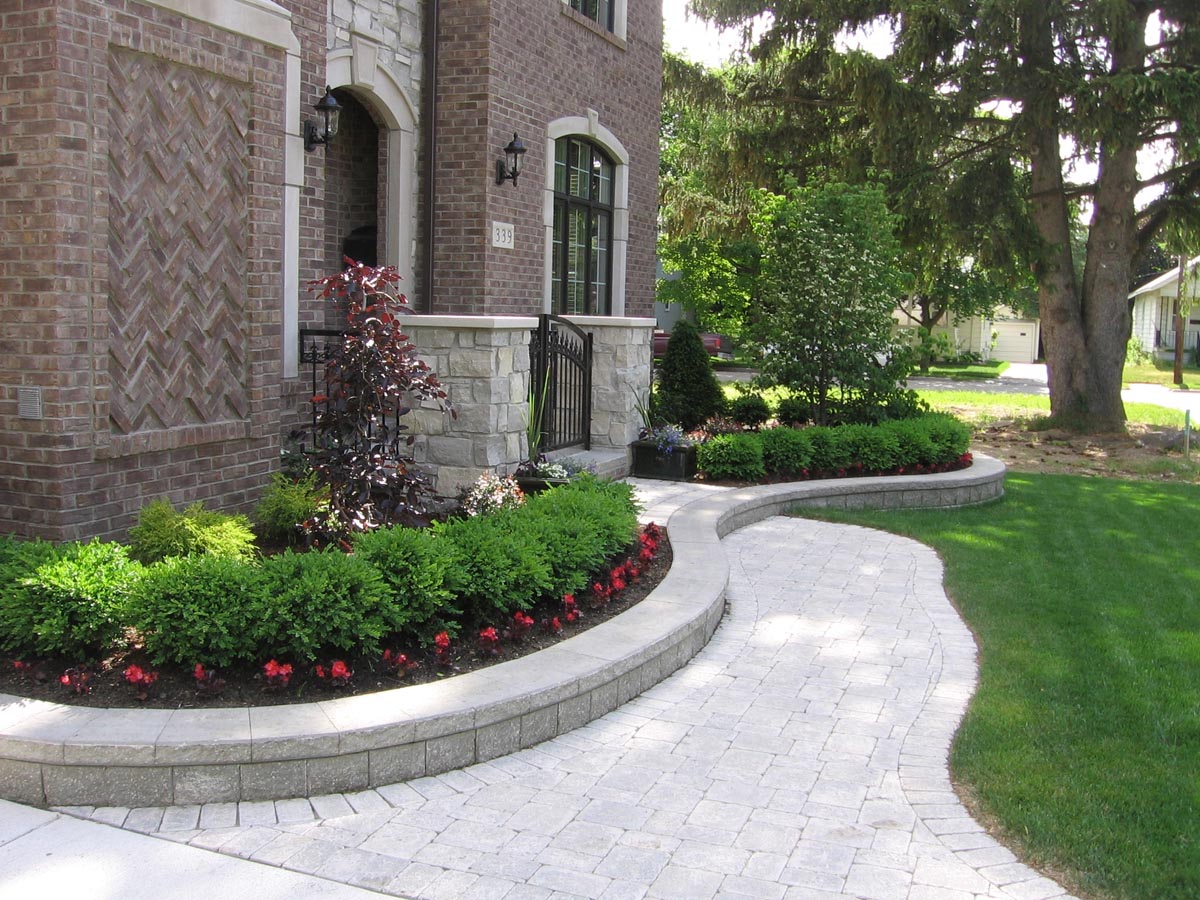
Patio & Walkway Maintenance
Patios and walkways require different seasonal maintenance, depending on the material used in their construction. Most patios and walkways are constructed from either natural stone, concrete, or brick. A vital part of home maintenance is knowing the dos and don’ts of caring for these materials.
The primary maintenance tasks for natural stone, brick, and concrete paver patios and walkways include cleaning, joint sanding, sealing, and scheduling repairs.
Cleaning
Cleaning patios and walkways significantly impacts their appearance and longevity and can help prevent general wear.
Spring Cleaning Tasks

- Remove leftover twigs, leaves, and dirt from late fall and winter with a stiff-bristled broom or brush.
- Remove moss and deep-rooted weeds with a power washer on a low-pressure setting (below 3,000 PSI) once the temperature is consistently over 50 degrees Fahrenheit.
Summer Cleaning Tasks
- Continue sweeping debris.
- Address pest infestations immediately by using baits or pesticides. Some articles online may suggest using vinegar-based solutions. While this is okay for stone and concrete, vinegar-based solutions should not be used on brick.
- Remove stains. Mild detergents and dish soaps work best for stone, brick, and concrete patios. Any heavy oil-based stains will require a specialty oil-removing agent.
Fall Cleaning Tasks

- Regularly sweep leaves and other debris off of the patio or walkway.
- Power wash the surface if it wasn’t done in the spring.
Winter Cleaning Tasks
- Regularly remove snow. Use a shovel with a plastic guard/edge to prevent paver damage if you have a paver patio or walkway.
- Keep ice and snow from accumulating on the surface. Never use commercial deicers or salts, as they will damage the stone, concrete, and brick surfaces. Instead, opt for pet-friendly deicers that contain no chloride or salts.
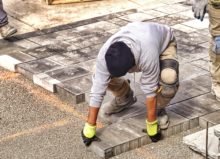
Joint Sanding
Polymeric sand helps prevent water damage in brick, concrete, and stone pavers and prevents weed growth. Most patios and walkways will contain some form of joint sand and will occasionally need to be replaced. A contractor can help you determine if you need joint sanding done. If you only see gaps in your pavers with no sand, you need to apply joint sand as soon as possible.
The Best Seasons for Joint Sanding
Joint sanding is best done in the summer or early fall when it’s less likely to rain. It’s possible to do it in the spring, but you will need a dry surface. Joint sanding should never be done in the winter because temperatures will be too cold, and the sand will not properly set.
How to Apply Joint Sand
- Sweep debris off of the surface.
- Remove weeds, moss, debris, and old sand using a power washer (on a low-pressure setting).
- Wait for the surface to completely dry.
- Apply joint sand according to manufacturer instructions. A stiff-bristled broom or brush is good for this task.
- Compact the sand with your brush or a compactor.
- Check to ensure all the joints are filled with compacted sand.
- Use a leaf blower to remove any excess sand.
- Use your hose (on a mist setting) to moisten the sand and let it set. Remove excess weather with a leaf blower.
- Allow the sand to cure for 24 to 48 hours. The manufacturer’s instructions will have clearer details on the cure time for the specific sand you use.
Sealing
Sealers help protect concrete, brick, and stone surfaces from water damage, stains, and other wear and tear. Keep in mind that there are many sealers available on the market with varying finishes and colors. We recommend consulting a professional to determine which sealer works best with your surface.
When to Seal
Sealing should be done every 4-5 years, preferably in the summer or early fall when it’s warmer and dry. Similar to joint sanding, sealing should be done when it’s relatively dry and in cold temperatures because the sealer will not cure properly. If your area gets particularly humid in the summer, we recommend waiting until the fall, as humidity can affect the time it takes for sealers to cure.
If you’re joint sanding, you must wait until the sand cures before applying the sealer.
How to Apply Sealer
- Clean and prep the surface. Use a stiff-bristled broom or brush to remove large debris and a power washer (on a low-pressure setting) to remove weeds and moss. If you’ve recently applied sand to the paver joints, skip the power washing. If some debris can’t be removed with a brush, you can always use mild detergent and water to clean the surface.
- Allow the surface to dry.
- Mix the sealer per the manufacturer’s instructions.
- Apply the sealer evenly using a paint roller or sprayer. The manufacturer’s instructions include application techniques and the recommended number of coats.
- Always allow each coat to dry completely before applying another coat. Drying times will be listed in the manufacturer’s instructions.
- Once you apply the recommended coats, allow the sealer to cure. Cure times will vary based on humidity and temperature, but the manufacturer’s instructions will list the average curing time.
Repairs
Damaged stone, concrete, and brick surfaces aren’t just aesthetic issues—they’re also safety risks.
You should perform inspections at least once monthly to look for signs of damage.
Signs of Damaged Brick, Stone, & Concrete
- Cracking: Small and large cracks should get the same attention. If you notice any cracks, schedule brick repairs.
- Spalling: Spalling is primarily caused by water damage during freeze-thaw cycles. Spalling brick pavers will typically appear pitted or have missing chunks.
- Discoloration: Faded coloring can be caused by water damage, so it’s important to get your pavers professionally evaluated if you notice any discoloration.
- Mortar Deterioration (for Bricks): Look for crumbling, cracked, or missing mortar between brick pavers.
- Pitting (Concrete): This is when small, shallow depressions appear on the concrete surface.
When to Schedule Repairs
If you notice any signs of damage, address them as soon as possible, as they will only worsen with time. Spring through early fall is generally the best time to schedule repairs, as many repairs can be challenging to perform in extremely cold weather.
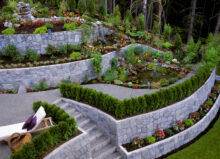
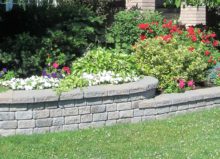
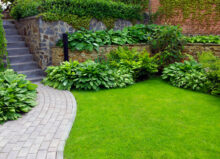
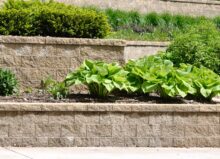
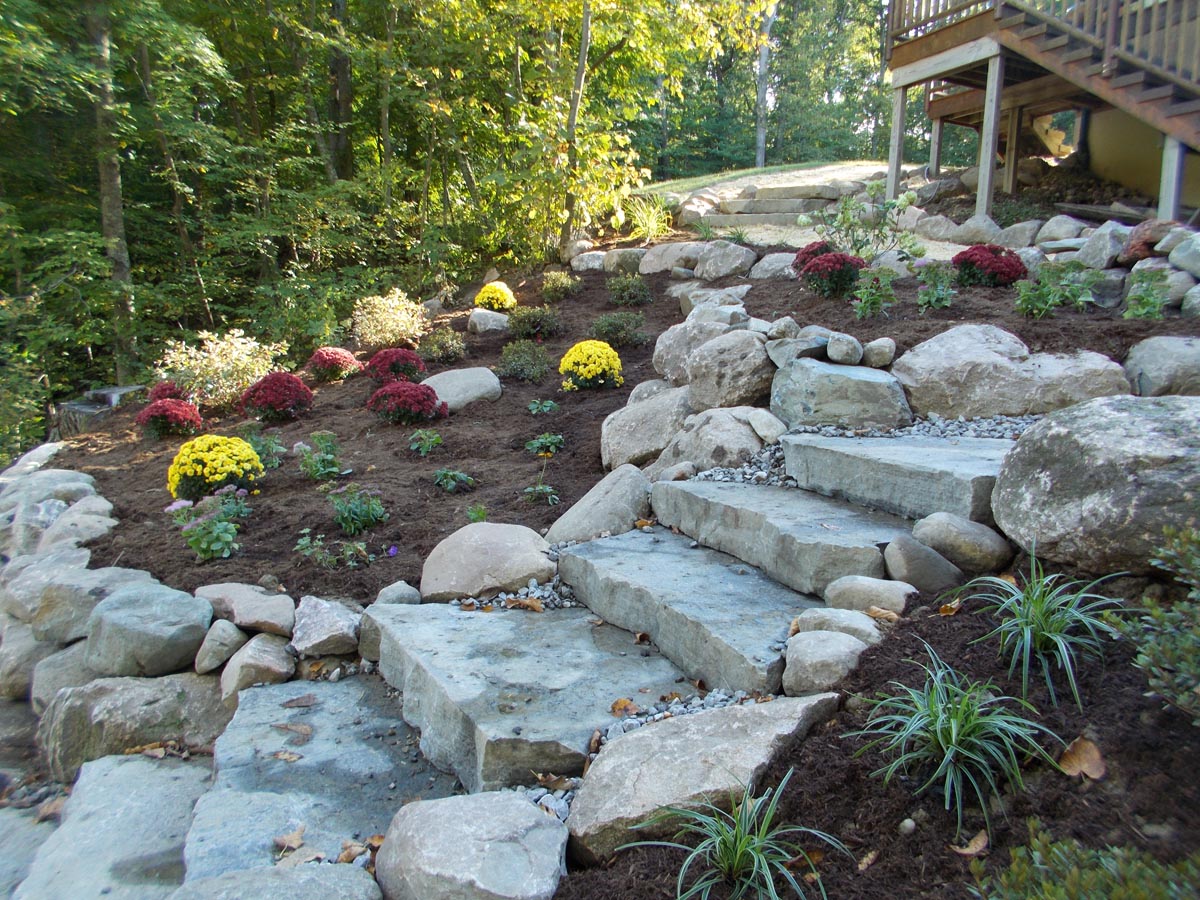
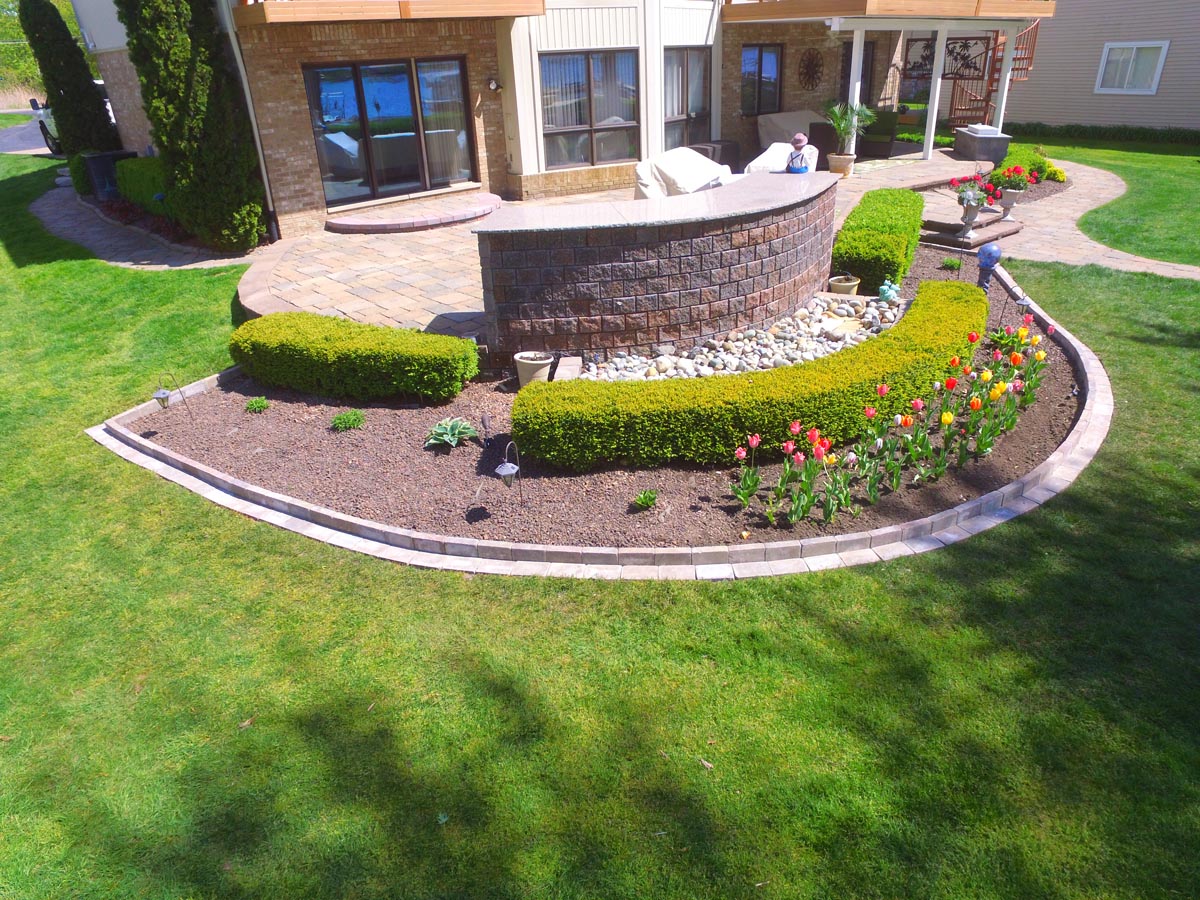
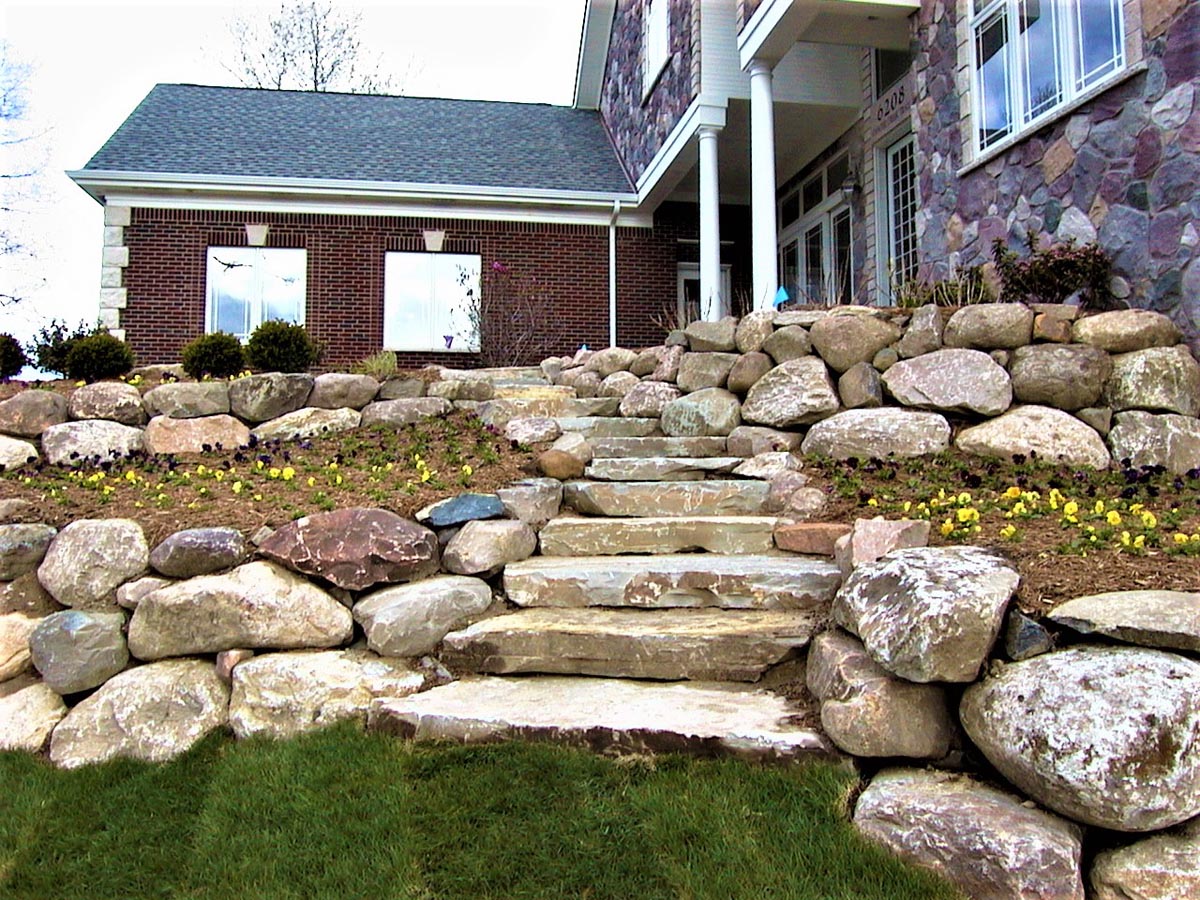
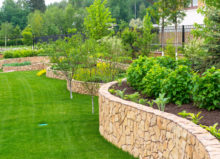
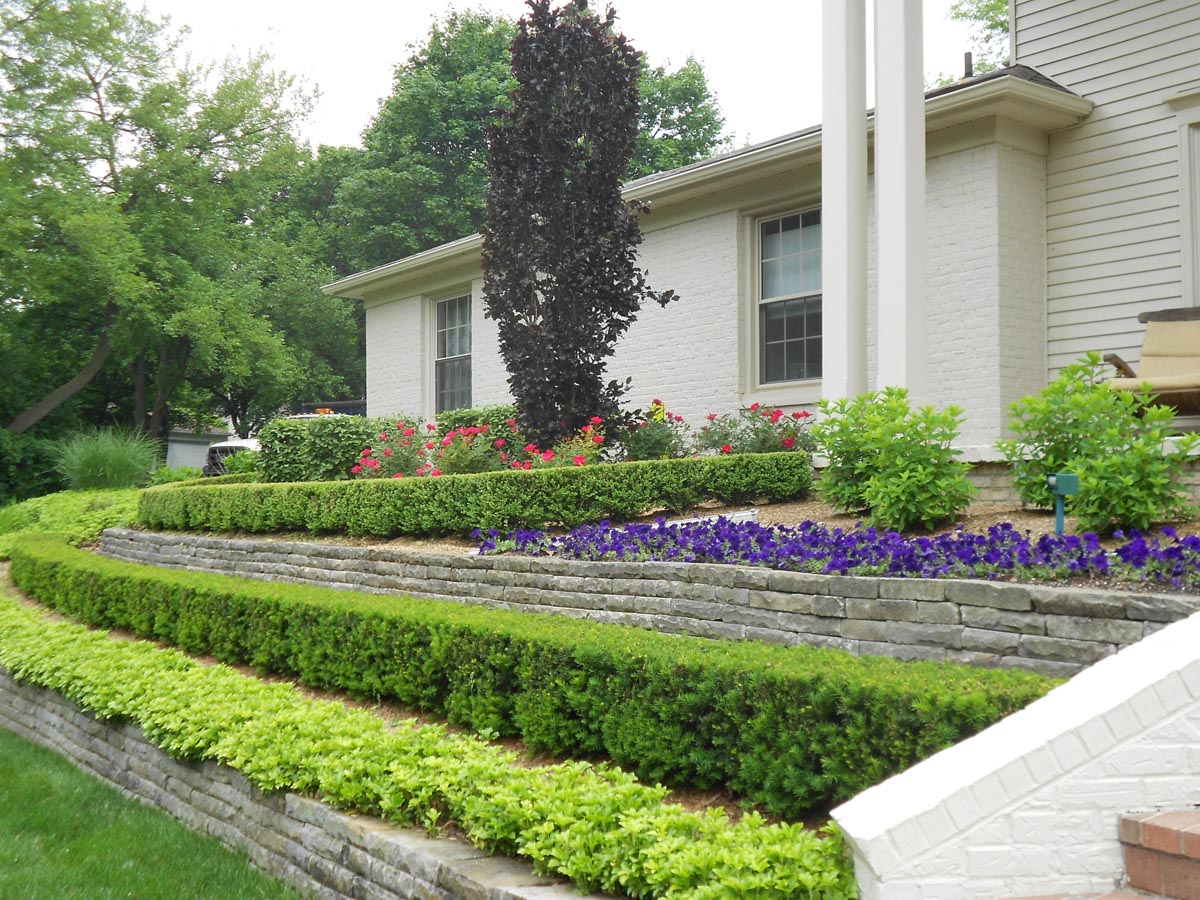
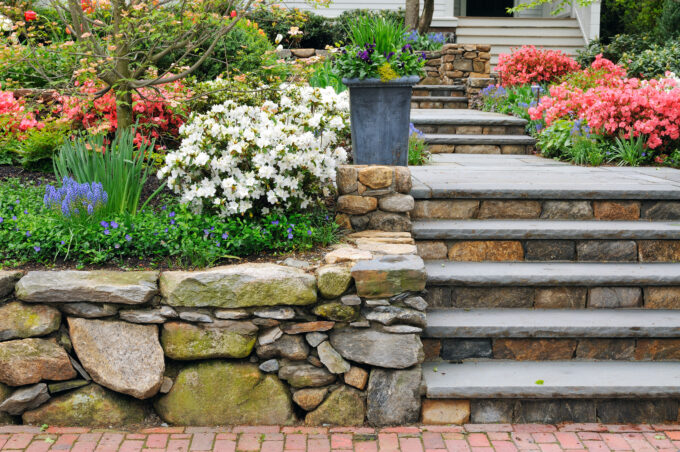
Retaining Wall Maintenance
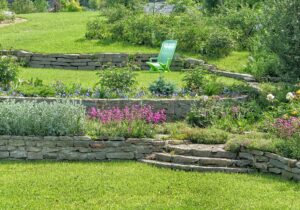
Retaining wall maintenance is typically less time-consuming than caring for patios and walkways. Generally, you’ll want to perform routine inspections and clean off debris.
Routine Inspections
Routine inspections are critical because they can help you avoid major structural problems. We recommend performing inspections once a month.
What you will look for during the inspection will vary based on the material your retaining wall is constructed from. Generally, you’ll want to look for:
- Cracked Pieces
- Missing Mortar (Brick & Stone Only)
- Wall Bulges
- Water Drainage Issues
Report any problems found to a contractor to discuss repair options.
Cleaning
Clean your retaining wall in the spring, summer, and early fall. Sweep off any large debris with a soft-bristled brush or broom, and use water and mild detergent for a deeper clean. Remember—always find a cleaning solution that works best with the material your retaining wall is made from. We also recommend sticking to a brush and broom for cleaning instead of power washing.
In the winter, all you’ll need to do is prevent snow and ice from accumulating on your wall. Like patios and walkways, you don’t want to use commercial deicers or salt—stick to chloride-free and salt-free deicers.
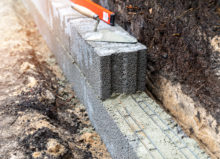
Backfilling Depressions
If you notice any soil depressions, you must backfill the areas promptly. Water will pool and also increase the rate of deterioration. Backfilling can generally be done any time of the year unless the retaining wall contains mortar, concrete, or adhesive, all of which warmer temperatures to cool. If you notice depressions during your inspection, plan to have them addressed immediately.
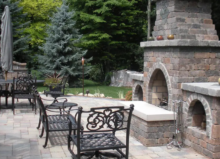
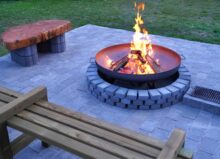
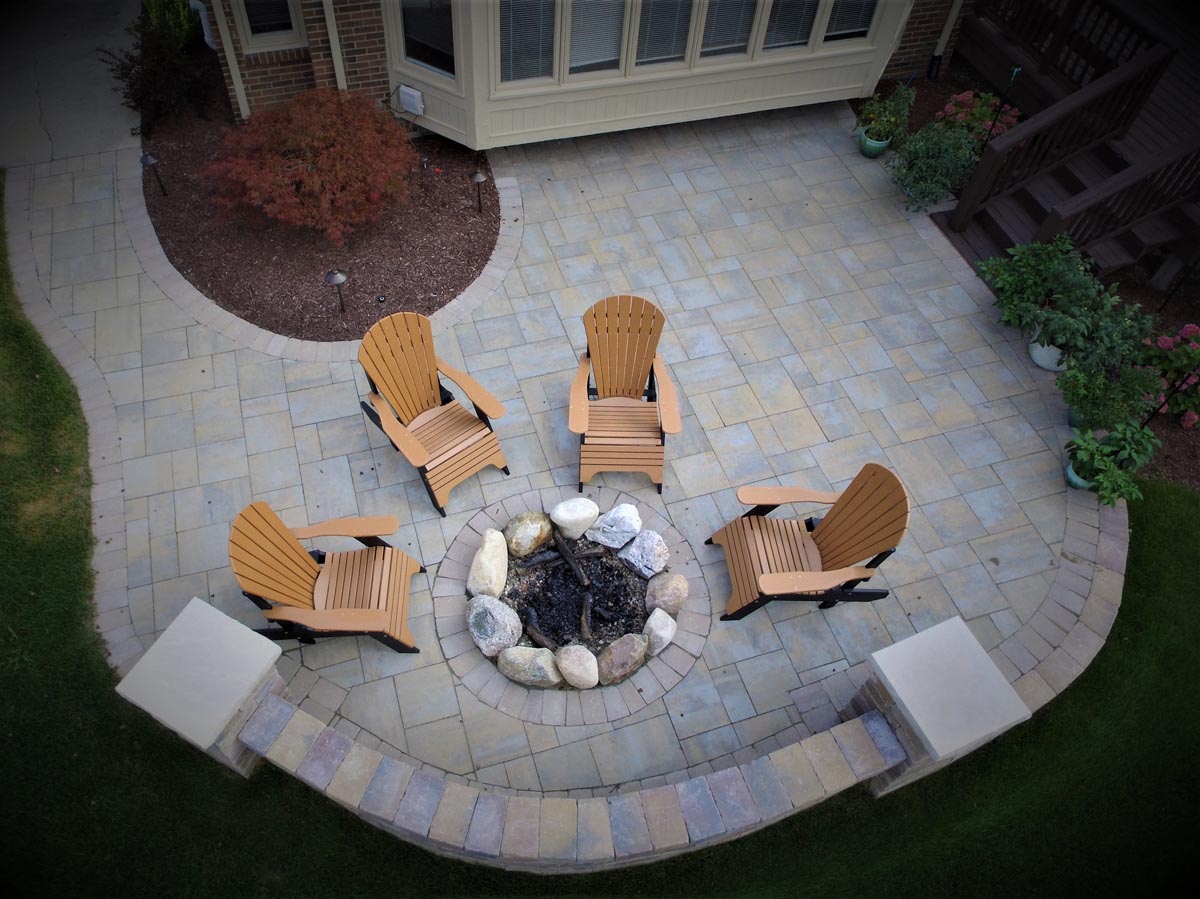
Fire Pit Maintenance
Outdoor fire pit maintenance tasks will vary based on the type of fire pit you have: gas or wood.
Gas
- Ensure burners stay clear and regularly check fuel lines each month.
- Once gas fire pits cool, remove any leaves, insects, and stones by hand (this should be done whenever the fire pit is used).
- Wipe down surfaces with soap and water to clean in the spring, summer, and fall months.
- Perform necessary winterization tasks:
- Turning off the gas supply.
- Store the propane tank in a safe location away from direct sunlight.
- Removing lava rocks, fire glass, and other loose components from the fire pit and storing them indoors.
- Cover the fire pit with a dry, weather-resistant cover.
Wood-Burning
- Perform routine inspections before use to identify potential damage, like cracks.
- Clear out the ashes after they have cooled. You need to do this after each use, regardless of season.
- Ensure the fire pit has no combustible materials around it.
- Clean the fire pit regularly. To clean it, apply a muriatic and water solution to all surfaces, scrub them with a heavy-duty brush, and rinse them thoroughly with a garden hose.
- Cover the fire pit when not in use, especially in winter.
Learn More From Design One
Get more hardscape maintenance tips and tricks from our professionals at Design One. Founded over 30 years ago, we’re a licensed and insured landscape design company specializing in hardscaping. Visit our blog for more hardscaping and maintenance resources, or contact us today to speak with one of our experts.
As a residential and commercial landscaping company in Michigan, we’re experienced in both property care and landscaping design. With over 40 years of experience in the industry, Design One is great source of information when it comes to your Michigan lawn care needs! From preliminary design mapping, to irrigation and the types of plants you might want on your priority, we cover it all.